Sending Your Mix - Requirements before Mastering

To get the most out of the pro audio mastering process, you must understand how to prepare your mixes properly. By giving the mastering engineer what he or she needs, you will increase the efficiency and quality of the work they do. The following guidelines will help to make your mixes sound better and the mastering process go smoothly.
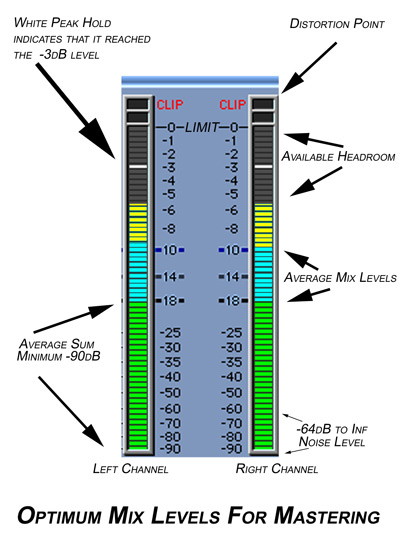
1. Make sure the highest output level of your final mix does not exceed -3 dB FS. (FS stands for Full Scale where 0 dB is the highest possible level before distortion.)
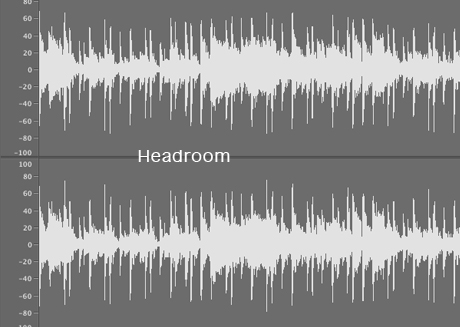
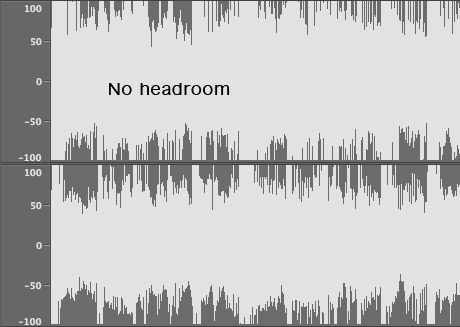
Setting the audio output level to a maximum of -3 dB FS leaves enough headroom for the mastering engineer to do any processing work that is necessary. It also helps to ensure that the output levels of the mix do not exceed the 0 dB FS. It is important to note that I am talking about the audio levels not the master fader which controls that output level.
2. Make sure that the mix starts a second or so before the start of mix.
Leaving extra space before the start of the mix allows the mastering engineer to add a short fade-in that can make the transition from digital black to audio feel more natural. If the final mix is bounced from the exact start of audio there is the potential for the start of the song to sound clipped. The extra space is quickly and easily edited by the mastering engineer and is a standard part of the pro audio mastering process.
3. Make sure the mix ends an extra second or so after your fade-out or last audible sound.
Leaving extra space at the end of the mix ensures that the end of the song will not be clipped and have to be faded out unnaturally in mastering. If this happens, the mastering engineer may be forced to add in a reverb to smooth out the ending and make it sound natural. This will add extra time to the pro audio mastering process that could be better spent working on the sonic quality of your mix.
The mastering engineer will most likely chase your fade-out to give it a smooth transition leading it to the next song. Leaving the extra space will allow flexibility in the pro audio mastering process to deal with this transition more naturally.
4. Set the sample rate and bit depth to be the same as your multitrack session.
The final mix should always be bounced at the same sample rate and bit depth of the multitrack session. If your song was recorded at 96K - 24 bit resolution, then bounce the final mix at 96K - 24 bit. There is no benefit to printing the mix at a higher sample rate or bit depth than the original session. If your multitrack session is set to 44.K - 16 bit resolution then print the mix at 44.K - 16 bit. Do not apply any form of dithering to your final mix.
5. Remove all Effects, Compression and Limiting on the Master Bus.
Any compression or limiting on the Master Bus will affect the work of Mastering Plug-Ins and should be avoided. Master Exports should rather have very dynamic peaks and valleys to allow for optimal mastering. Alternatively send a file with compression as guideline if you are after a specific sound.
The same principles should be used for creating Multitrack sessions to be mixed and mastered. All stems should not clip, be compressed too much or heavily EQ'ed.


